Turn Damaged, Processed Hair into Healthy, Glossy Gorgeousness!
I’ve colored my hair for so long that I have to reference baby pictures to recall my natural hair color. Ok, maybe that’s a bit of an exaggeration but you get my drift. Whether we dye, highlight, tint or chemically straighten – we love changing it up, right? Plus, over the Holidays we all tend to use hot styling tools more often – causing even more damage at a time when we really want to look amazing for all of the parties and fun! The problem, is that what can make hair look amazing – can also damage it, turning it into a dry, dull, unhealthy mess.
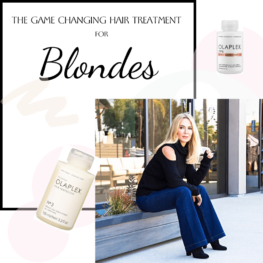
Remember when Kim Kardashian went from dark hair, to super-duper platinum blonde? I remember thinking “Geez – how does she still have hair, and how can it look that healthy after so much processing?” The answer – OLAPLEX. It is the hair treatment that every A-list hairdresser swears by for both protecting and fixing hair damaged by chemical processing. Yes, that includes non-blondes too! Let’s get hair glossy and gorgeous for the holidays, shall we?
What is Olaplex
If you haven’t heard the huge buzz around OLAPLEX, or seen it all over Instagram, you’re in for a treat. It is a scientifically formulated 3-Step Treatment System that permanently reconnects the damaged disulphide bonds in your hair that are broken during chemical processing. For those of us who have bleached or highlighted our hair for more than a hot minute, Olaplex rebuilds the strength and structure of hair into healthy, shiny, strong glossiness! It is especially useful for blondes, since going lighter than your natural color involves breaking hair’s bonds…. Yes, please.
How it works
There are 3 Steps to the Olaplex treatment. The first 2 Steps must be done In-Salon by a hair professional. Since the In-Salon treatments are incorporated into your regular color appointment, it won’t add much time to your salon appointment, fyi.
Step 1 – Olaplex No. 1 Bond Multiplier
In-Salon treatment. The Bond Multiplier is the treatment that fills in the hair’s gaps in order to stop the bleach from causing too much damage to your hair. Your hairdresser adds the Bond Multiplier into whatever tint or bleach she normally uses for your color, then simply applies to your hair per the usual dyeing process.
Step 2 – Olaplex No. 2 Bond Perfector
In-Salon treatment. The Bond Perfector is used on the hair after Step No. 1, right before shampooing. After your color processes, your colorist rinses it out as usual, towel dries your hair – then applies the Bond Perfector leaving it on for 20 minutes to do its magic. This step helps to repair any hair bonds that may have been damaged through the dyeing process.
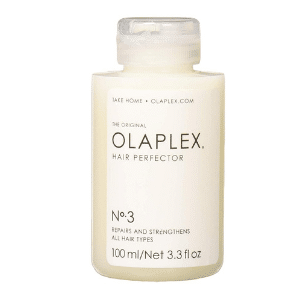
Step 3 – At Home! Olaplex No. 3 Hair Perfector
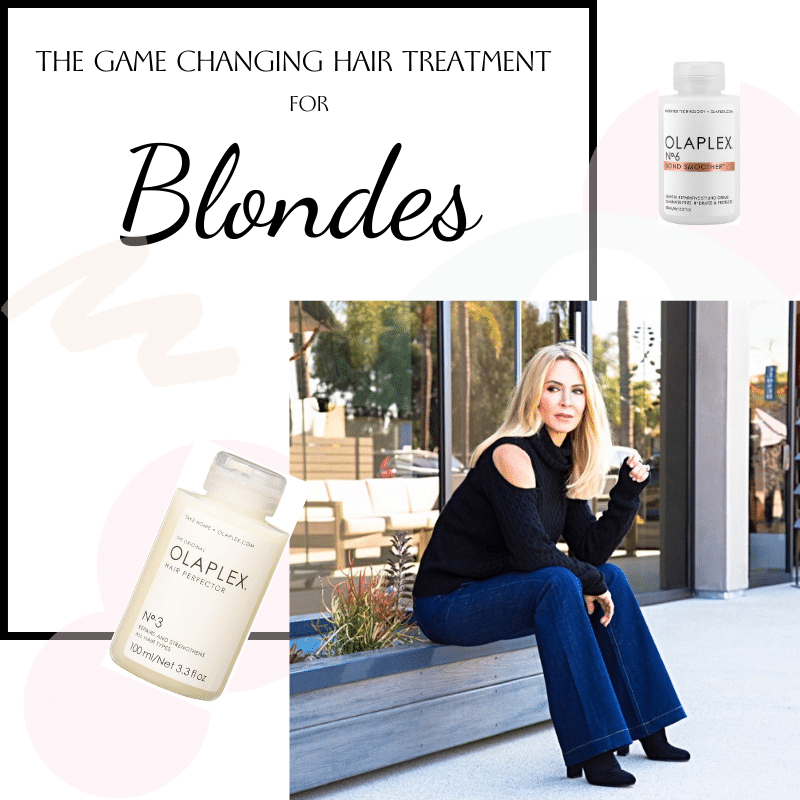
The Hair Perfector is the At-Home treatment that gives hair more moisture, reduces breakage and visibly strengthens hair, improving both look and feel. You’ll want to use it at least once a week to maintain keep the hair nice and healthy. It’s super easy to use:
1. Shampoo and towel-dry your hair per the usual
2. Apply Olaplex No. 3 and let it all soak in for 10-30 minutes. If hair is really damaged, or if you just want to be all-extra about it, leave it on for an hour or 2 or even overnight. I use a claw clip to pile hair on top of my head then put a shower cap over the whole thing, to keep the serum from ruining my sheets. This is my “birth-control look.”
3. Finally – rinse, shampoo, condition and style to glossy gorgeousness! Repeat every 10 days to keep hair extra healthy and shiny.

Not ready for the In-Salon? Start with the No. 3 At-Home treatment to test the waters!
If you want to dip your toes in the OLAPLEX waters, but aren’t ready to dive into the whole In-Salon thing, you can skip to Step 3 and use the At-Home No. 3 Hair Perfector. If you like what you see after a few treatments, consider going “all-in” with the Salon treatments. Oh – and you can also consider using the At-Home Olaplex Shampoo, Conditioner and Smoother (Steps 4, 5 & 6). That is what I’m doing, along with In-Salon!
You may also like…… At-Home Steps 4, 5 & 6
Olaplex Shampoo + Conditioner + Smoother
The second I saw that there were 3 additional At-Home products I could use, they were in my Shopping Cart so fast, I practically broke an index finger hitting “Buy Now.” I know. Sometimes I even drive myself crazy.
Before you think it sounds too overwhelming – hold up a sec. It’s just a Shampoo, Conditioner (like you normally use), and a leave-in Smoother. I was nearing the end of my normal Shampoo & Conditioner anyway, so just replaced it with the Olaplex. Easy!
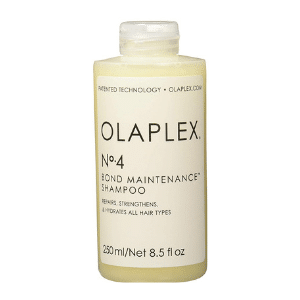
NO. 4 Bond Maintenance SHAMPOO
Protects and repairs damaged hair, split ends and frizz by re-linking broken bonds. Shampoo is highly-moisturizing & reparative. Leaves hair easy to manage, shiny and healthier with each use!
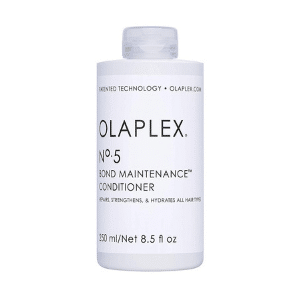
NO. 5 Bond Maintenance CONDITIONER
Protects and repairs damaged hair, split ends and frizz by re-linking broken bonds. Conditioner is highly-moisturizing, reparative and for all hair types. It’ll leave your hair easy to manage, shiny, healthier and stronger!
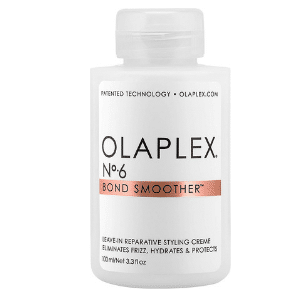
NO. 6 Bond SMOOTHER
This is a concentrated leave-in Smoothing cream that eliminates frizz, hydrates & protects hair. It’s excellent for all hair types – especially those of us with colored and chemically treated hair. Strengthens, hydrates, moisturizes and speeds up blow dry times while smoothing. Eliminate frizz and flyaways for up to 72 hours!

Ready to Dive In? Here’s What to do…
Ready to get your hair shiny, glossy and healthy looking? Nice! You can start one of two ways: Ask your colorist if she is able to provide you with in-salon Olaplex treatments, or you can make an appointment with an Olaplex-affiliated salon in your area for the first 2 steps – then continue with the at-home products on your own. You can find an Olaplex affiliated salon in your area by using their search locator https://locator.olaplex.com.
Have a question or comment? Comment below. Tried it? Tell us what you think!

